After trying out several different combinations of EV settings I settled on creating a total of four images (three copies and the original). I created one image at -1 EV and two at +1 and +2 EV since shifting the balance of the image set toward lightness had better results in my tests for this series.
I then modified my script accordingly and set it to process all the images in the directory where the RAW images were saved. The script basically does everything, creates the four images in TIFF, enfuses them (creates the HDR image), creates the tone-mapped overlay images, one for detail enhancement and one for color contrast enhancement, builds the Gimp .xcf file and brings in the three images on separate layers; base (HDR blended)image first, detail enhancement image on the next layer as an “overlay” at 55% opacity and the third color enhancement image on the top layer as “soft light” at 100%. After the script is finished doing all the grunt work of creating the final .xcf output, I can then go in and tweak each and do any fine tuning I need. If I don’t like the result of any of the images I can always modify the parameters in the script and re-run it on just those images I didn’t like.
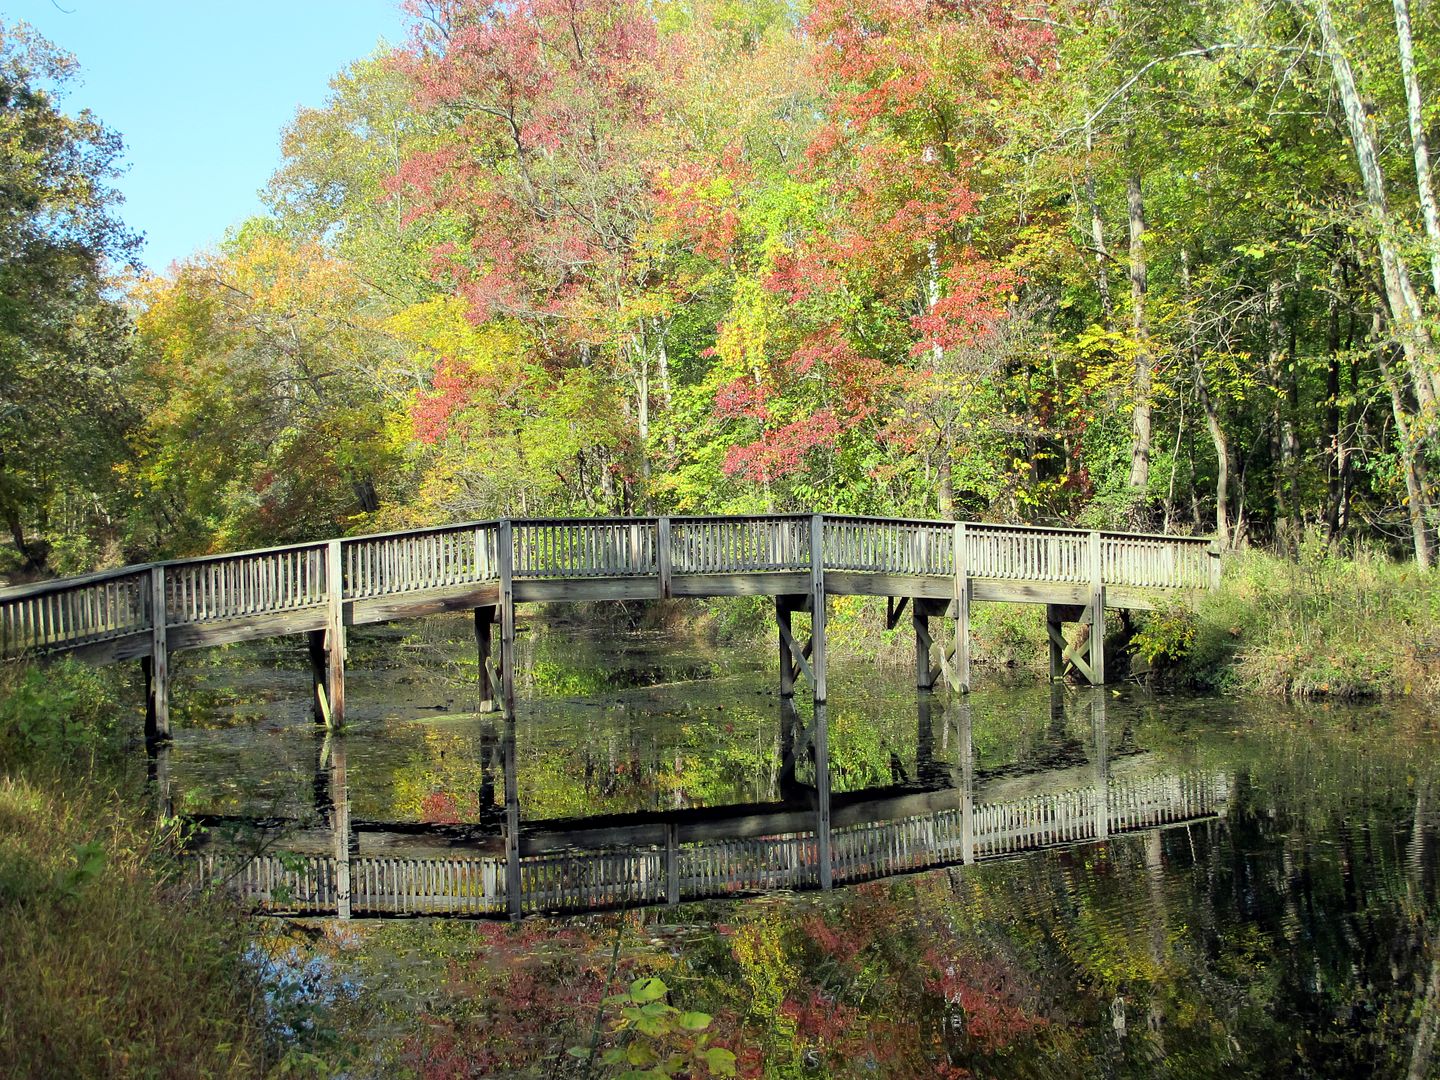
So here are some comparisons "before" image first, "after" image second. The differences are subtle as I don't do a lot of tone-mapping in my HDR since I'm trying simply to bring out detail and colors "as seen by the human eye" in th shadows and highlights.
Look at the shadowed areas and you will set the greater detail by the choice of using 2 up and 1 under EV settings in the script. Detail in the clouds is Way better and colors more distinct and a bit brighter without being overdone and no halos around higher contrast areas that HDR tone-mapped images are prone too. And a big plus of using a single base image is that there no need for image alignment and absolutely no ghosting from movement in the series, since there is No movement!
For those interested most of the tools I’m using are available here and there are windows versions of most of them. As I understand it, when you install them some create batch files with icons that you can drag and drop images onto for automated processing. Look for Hugin, PFStools, Luminance HDR, Enfuse, Emblend, also RawTherapee and Gimp, all free software under the GNU license. (see links at bottom of post).
before

after

before

after

before

after

before

after

before

after

before

after

before

after

before

after

before

after

before

after

before

after

before

after

before

after

sometimes though it doesn't work out well and the non-HDR has a greater appeal (at least to me). I personally like the softer tones and less detail in these along with the deeper shadows.
before

after

before

after

Other links for info on the process are here
Using Enfuse
http://www.linux.com/archive/feature/127062
http://photoblog.edu-perez.com/2009/02/ ... linux.html
scripts for batch processing and sorting bracketed images into separate directories.
http://photo-en.tassy.net/
RM